|
|
Post by 1990dtgl98 on Apr 30, 2014 19:17:25 GMT -5
Hello everybody. I joined this forum after my dad gifted me an old Savage 24S-E He said he bought it and never wound up shoooting more than 10 rounds through it. It looks great, no rust, no stock damage. the trigger feels about 10lbs, and after I dry fire it, the hammer almost "bounces" back and forth (if that makes sense). To try to explain it better: Once the hammer contacts the firing pin, its not a solid "click" and done, its like a tap, then imagine you flick a spring, it 'vibrates' almost. I think if I disassemble it I can get all the junk out and polish and clean everything up and having it running smooth, but.... All the disassembly pictures and links I use show the older style. This assembly is in the receiver, and not hidden behind the stock. I think I need to remove those 3 drift pins....but for the life of me they won't come out. Which brings me to my questions: Do I need to remove those drift pins and then the whole assembly will come out? Do I have to remove them a certain direction (I.E- left to right or right to left only)? If they are seized (which is a good possibility if that is the way to disassemble), any tips to unstick them? Not sure if they slide a certain direction only, or if I'm screwed and they are rusted fast from years of non use. Thanks in advance for the help guys! Dave 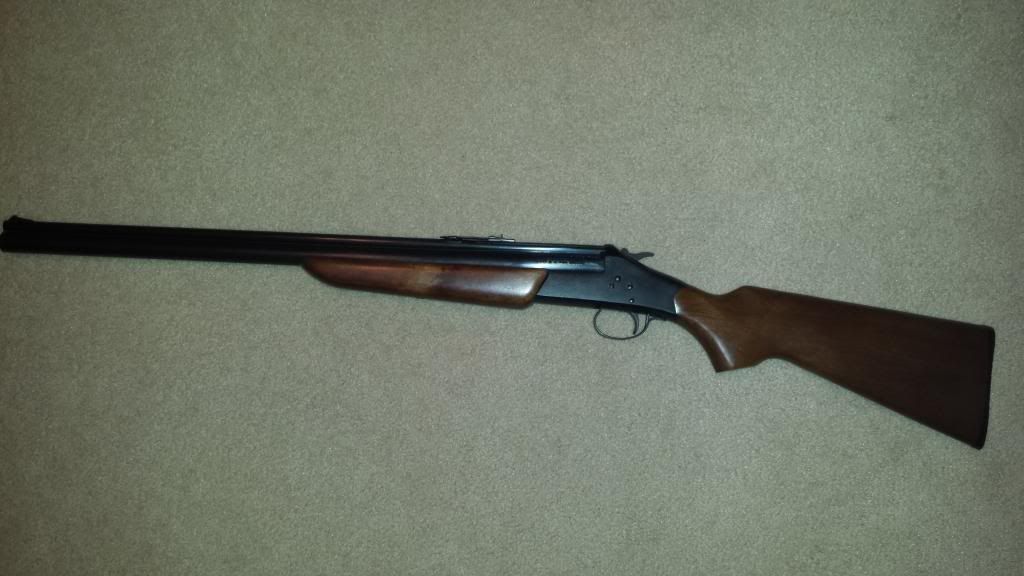 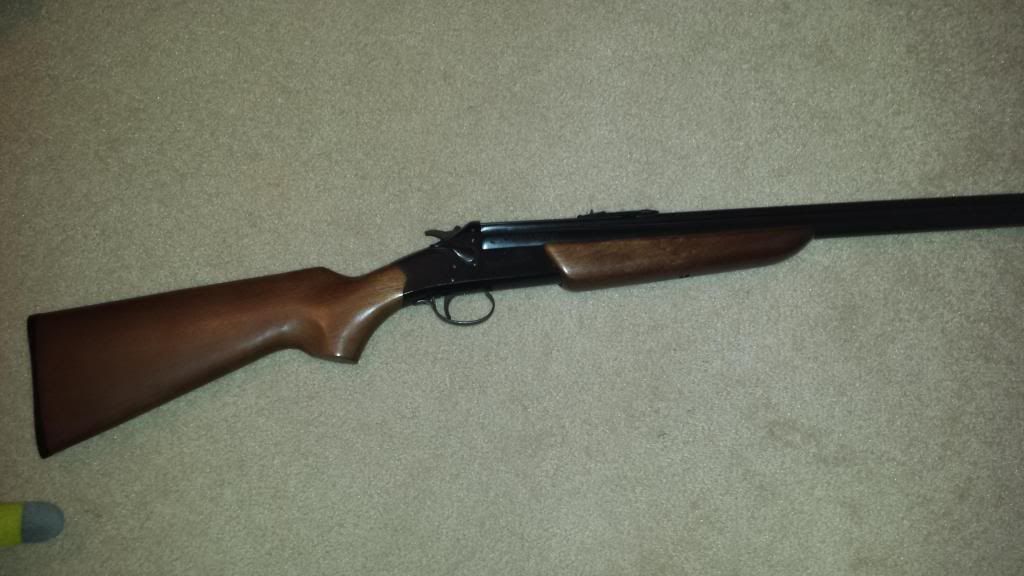  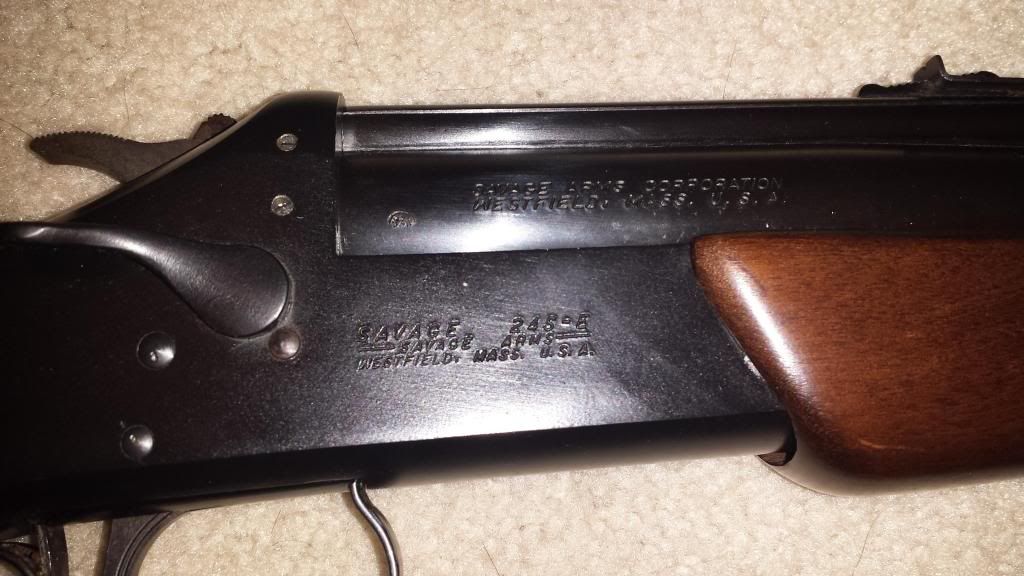 Just an update.... Sold the gun... Waiting to hear back how she fires! I'll send him this link to reference and see how informative this forum is. Thanks again! |
|
|
|
Post by cw on Apr 30, 2014 19:31:51 GMT -5
Very nice SL!!
These can be a lil daunting if you haven't any experience inside them...
Have you though of just a good solvent wash and blow out with compressed air? I have used a gallon sizes "carburetor wash" can more then once.. Works just great!
CW
|
|
|
|
Post by 1990dtgl98 on May 1, 2014 8:29:14 GMT -5
I did, but was worried about possibly damaging the finish. It won't affect the bluing?
Also, with that hammer feeling weird, I was worried about a spring being bent or binding on rust.
Think I should try that first? Or just try to drift those pins out? Can these model receivers even be disassembled as well as the old ones?
|
|
|
|
Post by cw on May 1, 2014 8:54:01 GMT -5
No solvent will not harm the bluing. It WILL the stock finish.
Remove wood soak and blow out with air many washers use kerosene or diesel fuel.
CW
|
|
|
|
Post by nomad on May 1, 2014 11:46:57 GMT -5
|
|
|
|
Post by 24forever on May 1, 2014 14:28:02 GMT -5
Nomad, I also have a 24S that I'd like to do a trigger job on. If you or somebody can tell me which pins need to come out to drop the trigger housing, I'd be very grateful. The Numrich parts diagram leaves me a bit confused...!
|
|
Deleted
Deleted Member
Posts: 0
|
Post by Deleted on May 1, 2014 15:43:48 GMT -5
These are pretty tough to put back together until you get the hang of it. You'll need slave pins, lots of light sources from various angles and a diagram. Keep the stock and forearm a mile away from any solvents or washes. I once had a 24SE, with both a monster trigger pull and a flimsy hammer. Took a long-long-long time to get it working right. I never did solidify the hammer resting position. You'll love it when you're done though!
|
|
Deleted
Deleted Member
Posts: 0
|
Post by Deleted on May 1, 2014 15:48:53 GMT -5
24 forever.......All (almost all) of the guts are housed in, and or directly connected a one peice trigger assembly unit. Almost everything has to come out at once after you pluck out both of the pins in the reciever. Check out then diagram above and assume it will be 10X harder than it looks!
|
|
|
|
Post by captcapsize on May 1, 2014 15:57:47 GMT -5
Drift pins are put in from the left side and must be tapped out from the right side. In some cases like the trigger pin it helps to use a "slave" drift pin which is just a very short pin (I use a broken off drill bit) to hold things together while you tap in the normal drift pin.
When I did a trigger job on mine I removed the hammer also and stoned the sear engagement surfaces on both. They were as rough as a cob, could actually feel the machining grooves on them. Savage must have done that on purposes knowing that some people would be walking around the woods with the hammer pulled back. At one time (I was told) Savage built quality guns. I wonder when that was?
|
|
|
|
Post by 24forever on May 1, 2014 16:41:13 GMT -5
Thanks for the replies, guys! The Numrich diagram above shows pins #20 and #22 as "trigger bracket pins" and #23 as the trigger pin (I assume the pivot pin), and #21 as the hammer pin (larger diameter...easy to ID). Looking at the side of the receiver, this cannot be right, or can it? I'd think that #22 is the actual trigger pivot pin and that #20 and #23 would drop the housing. How can the trigger pin be as far forward as position #23??? Makes no sense to me.
I just want to make sure I drive the CORRECT two pins out to drop the trigger housing. I dont want to drive the trigger pin out and have parts flying all over the place.
Can somebody please clarify specifically for the 24 S-E model?
|
|
|
|
Post by 24forever on May 1, 2014 19:43:44 GMT -5
OK, here's an update. I drove out the two smaller pins from the RIGHT side per Capt's instructions. Trigger assy. came out after a bit of tugging. springs and stuff went flying all over the place, so concentrating on one function at a time (making the side barrel release lever fuction, for example) I got it all fited again and can watch how the trigger group functions outside of the gun...cool.
Well...mostly. I still can't figure out how that fine-wire, trigger return spring fits in there. I'll keep futzing with it with the trigger group out of the gun until I understand how it fits.
Now, regarding the actual trigger job. I looked at the illustrated instructions here on the website, and it appears like the author stoned a small 45 degree chamfer on the top leading edge of the sear. It's hard to tell by the photos, but if this is so - this chamfer reduces the amount of engagement overlap area between the sear and hammer...which apparently reduces trigger pull...but can also be dangerous. It makes the hammer drop with much less rotational motion of the trigger axis, hence...less trigger travel.
I'm only going to polish the engagement surfaces, on both the trigger sear and the hammer. Not sure if lubricant is appropriate on this type of trigger sear, but a bit of graphite could also reduce the amount of drag between the two pieces, which translates to trigger pulling force.
I'll let you know how it proceeds.
Thanks again for all the comments and advice.
-Dennis
"24Forever"
|
|
|
|
Post by 1990dtgl98 on May 1, 2014 21:21:52 GMT -5
I'm at the same point.
How the eff do you reassemble this thing?!?!
I have the trigger and hammer back together and held together with dowel pins. But if I insert that, I can't get the side lever engaged with the barrel release (if that's the word). If I put that side lever in first, the hammer won't clear. If I put them all in at once, that short stubby spring won't stay on the front of the trigger guard.
Argggg!
|
|
|
|
Post by 24forever on May 1, 2014 23:11:54 GMT -5
1990: The trick to reassembly is to remove the side lever, but make sure the locking bolt (part #9 on Numrich schematic)is located on it's pin. With the side lever removed, the hammer will clear and go up inside the receiver.
The locking bolt spring (part #10) needs to be placed on the small metal tab that extends out of the front of the trigger bracket (part #24). Rotate the spring so that it will expand and slip over the tab and then it will contract and grab when you stop rotating . Squeeze the end closed a bit if it doesn't stay on the tab. When you insert the trigger assy, be sure to tilt the front end down and in first, so that the spring finds its place in the hollow seat of the locking bolt. Once the trigger assy is in, replace the two missing pins in the receiver.
Last thing to do is replace the side lever. Notice there is a groove in the lever that needs to line up with an axial boss in the locking bolt. It will slide in easily if you get it lined up properly.
That is all there is to it. Not difficult at all, if you follow the sequence! Be sure to lubricate everything properly while it is all out and exposed.
-Dennis
"24Forever"
|
|
|
|
Post by 1990dtgl98 on May 2, 2014 4:31:10 GMT -5
The only problem is that side lever doesn't insert right with the spring installed on the barrel lock.
That and it's grooved and the trigger assembly sits in the notch so that it doesn't fall out.... So everything can't be pinned first.
|
|
|
|
Post by 24forever on May 2, 2014 10:08:23 GMT -5
1990...I'm not sure why you are having problems. I just inserted the side lever last onto the barrel lock bolt 2 times to make sure I wasn't just lucky.
If you look at the side lever, you will see that the groove in it extends all the way out to the small diameter (pin end). This is designed so that the lever can slide over the barrel locking bolt.
I suggest that you do a few test runs without the trigger assembly inserted. Just have the barrel locking bolt in place, remove the side lever and put it back in again. With the trigger out you will be able to see how it mates.
If you find a different method of assembling that works, please report that here.
|
|


